No products in the cart

Gen 3: Replace Agitate Valve

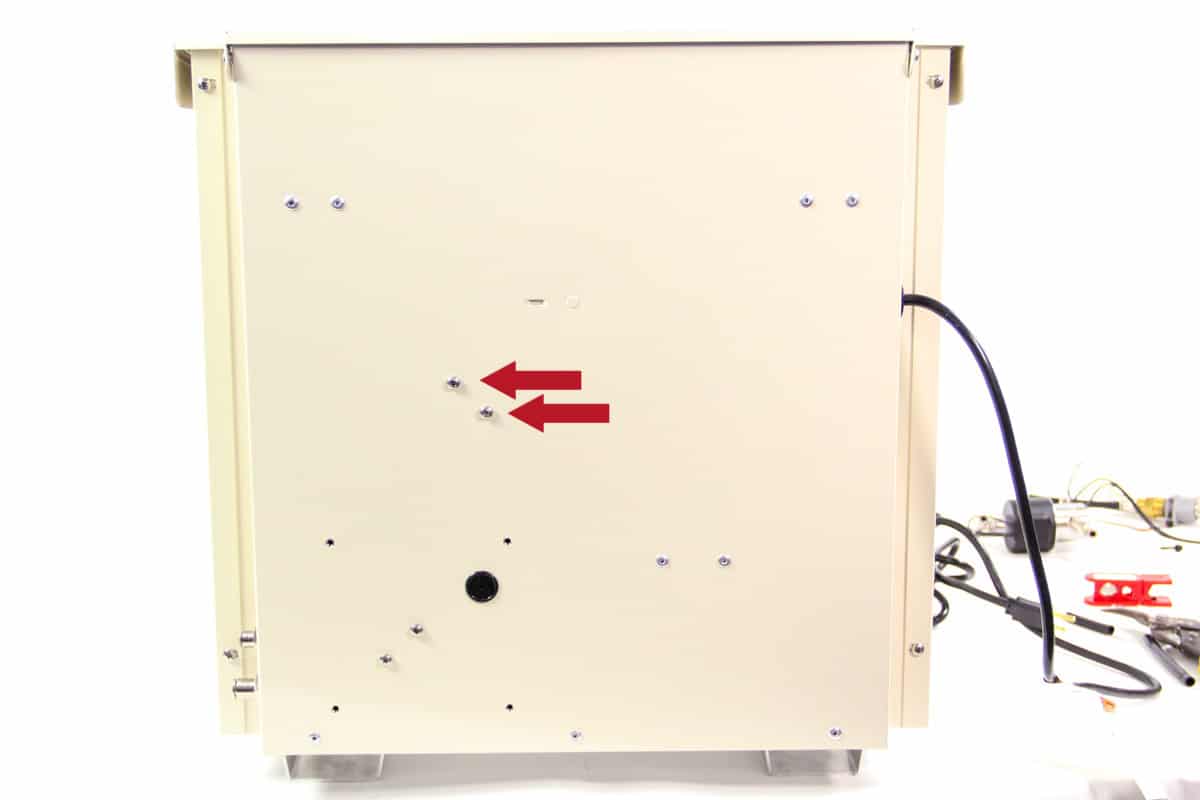
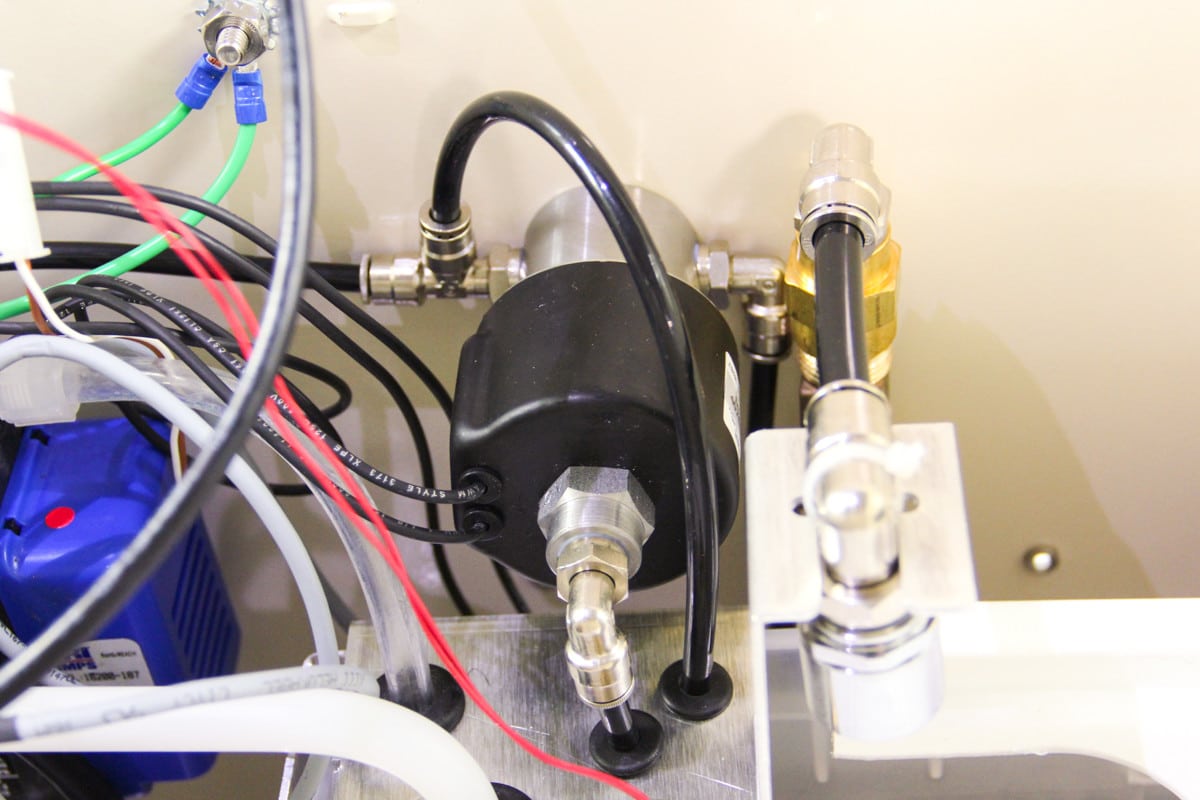
The agitate valve is the black component mounted to the right back wall of the unit over the batch tank.
Time: 20 minutes
Tools:
- Phillips head screwdriver
- 14mm wrench
Parts:
- Gen 3 Agitate Valve Assembly (#21025) – includes fittings, or
- Gen 3 Agitate Valve (#10924) – requires that you use fittings from existing valve
1. Remove bottle. Reposition controller and shroud. See Gen 3: Access Components by Repositioning Shroud.
2. Remove existing agitate valve.
A. Disconnect the lead from the controller port marked “Agitate Valve.” Snip the zip tie that bundles the wiring harness.
B. Using Phillips screwdriver, remove the two screws securing the agitate valve to the back wall of the unit. Keep the screws.
C. Disconnect the four segments of tubing connected to fittings on the valve. Leave the segments of tubing in place and remove the valve.
3. Replace with new agitate valve and test
A. Connect the four segments of tubing to the new pump as shown.
B. Use phillips screwdriver to mount valve to back wall with two screws. Connecting the tubing to the valve first will allow you to line up the holes on the back of the unit with the valve.

C. Connect valve lead to the controller port marked “Agitate Valve”.
D. Run a remote or manual mist to ensure the valve is working properly.
4. Return shroud and controller to original position.