No products in the cart

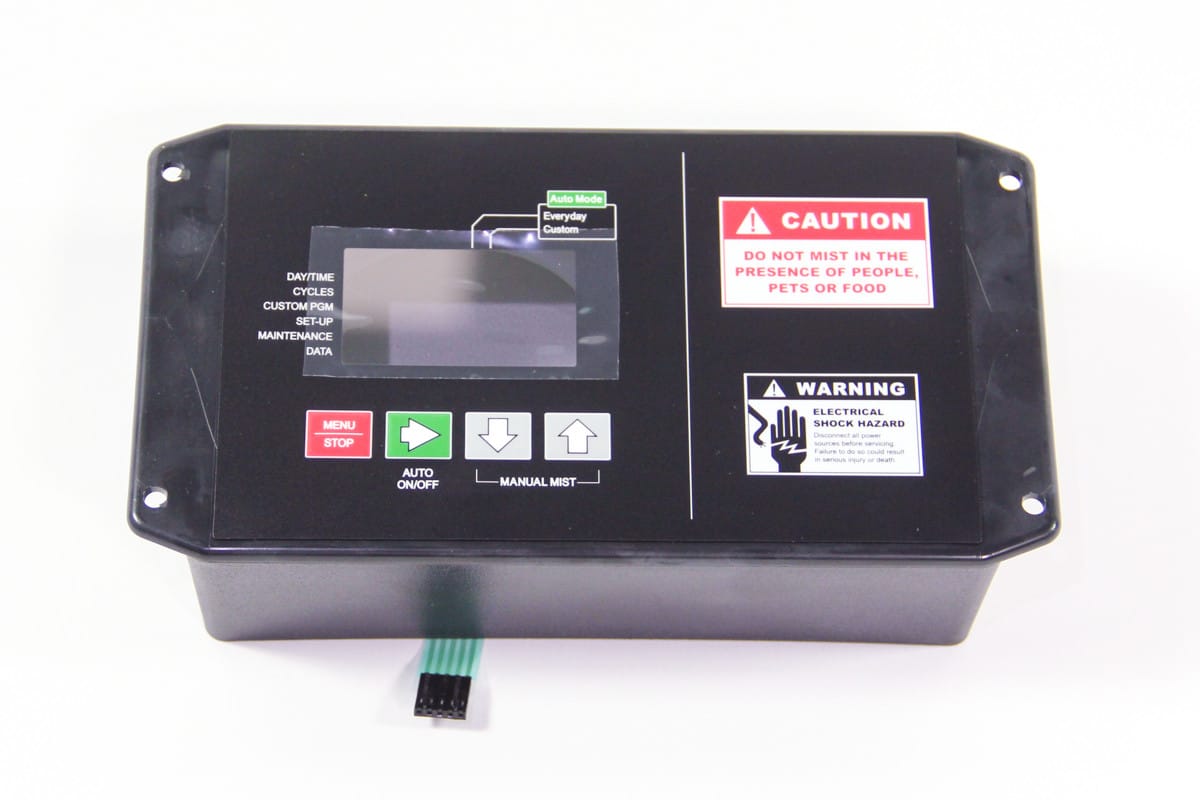
Controller: Replace Faceplate
IMPORTANT: Before disassembling the controller, touch your hand to a metal object to discharge any static.
Time: less than 5 mins
Tools: small Phillips screwdriver
Parts: Gen 3/1.3 Controller Faceplate with Buttons (#21050)
1. Remove faceplate from controller.
A. Remove screws securing controller into Gen 1.3 cover or Gen 3 shroud.
B. Disconnect controller completely from wiring harness, power and motor.
C. Place the controller, display side down, on a flat surface. Remove screws from four corners on back of controller with Phillips screwdriver. Do not remove the 6 stainless steel screws.
D. Carefully remove the faceplate as shown. Do not allow the faceplate to dangle from the controller.
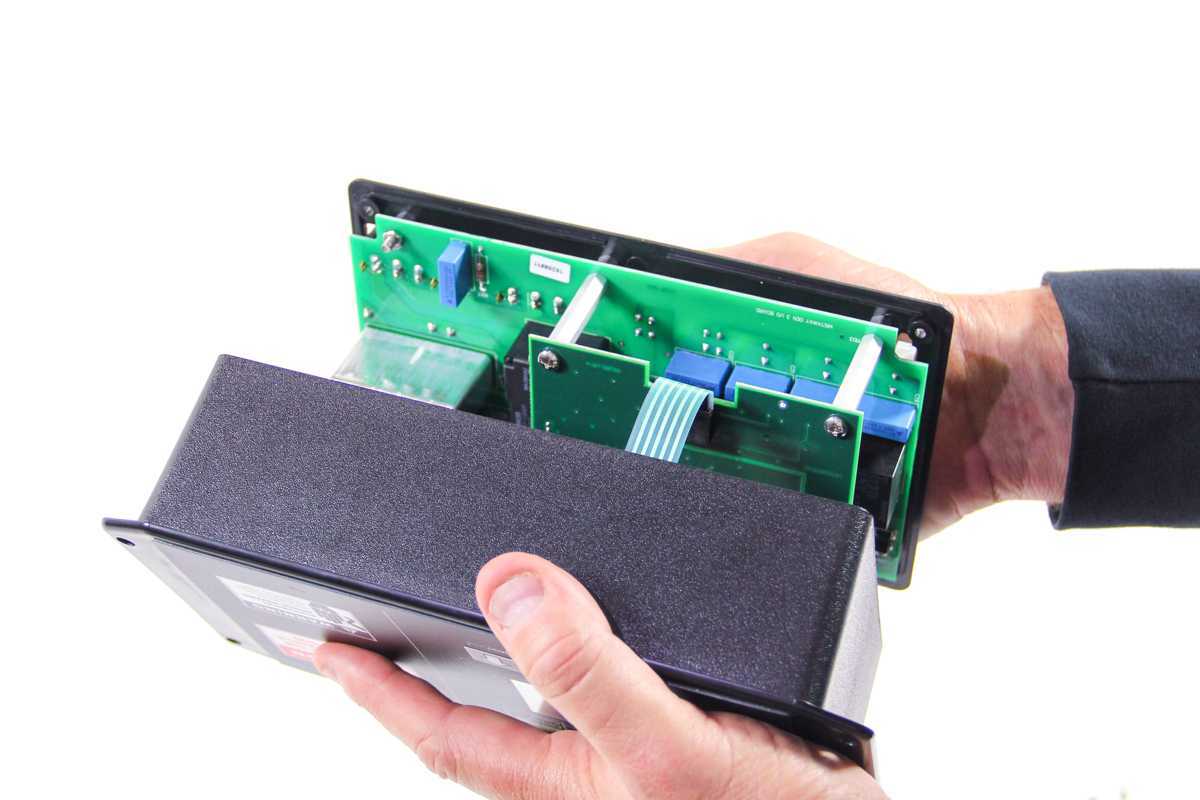
E. Place on flat surface as shown.
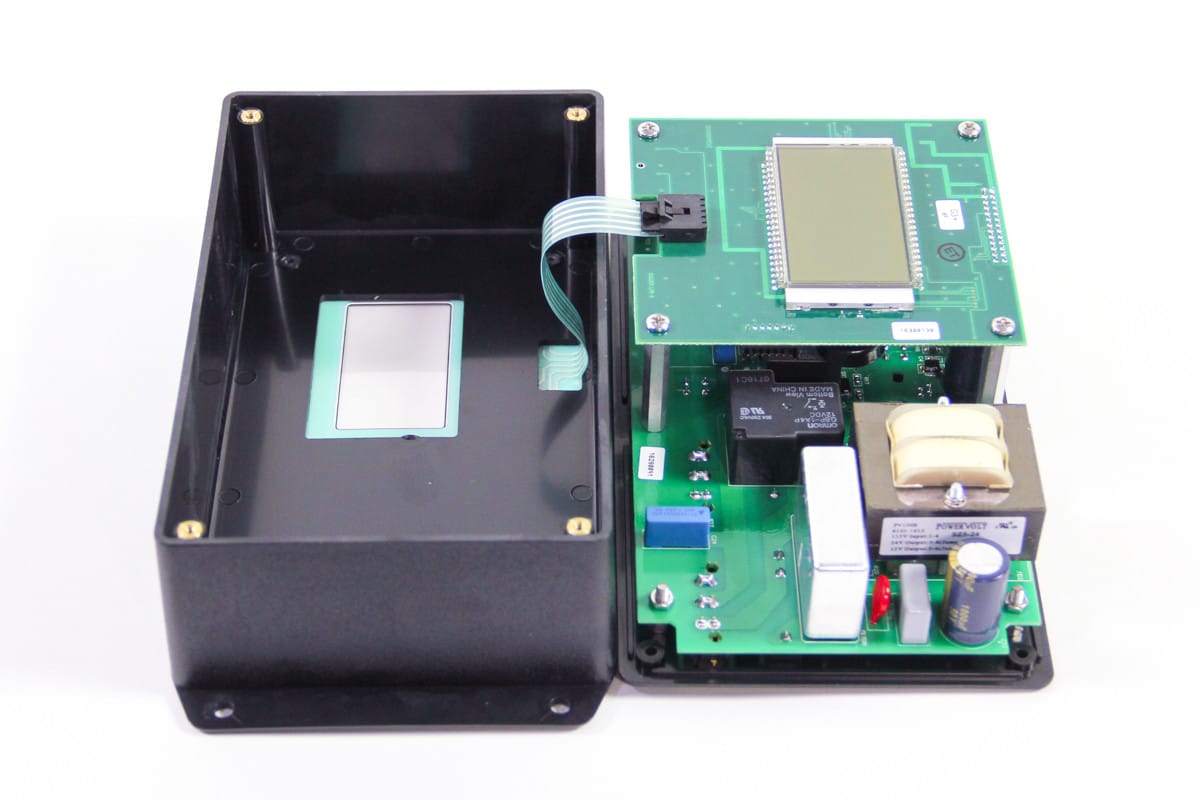
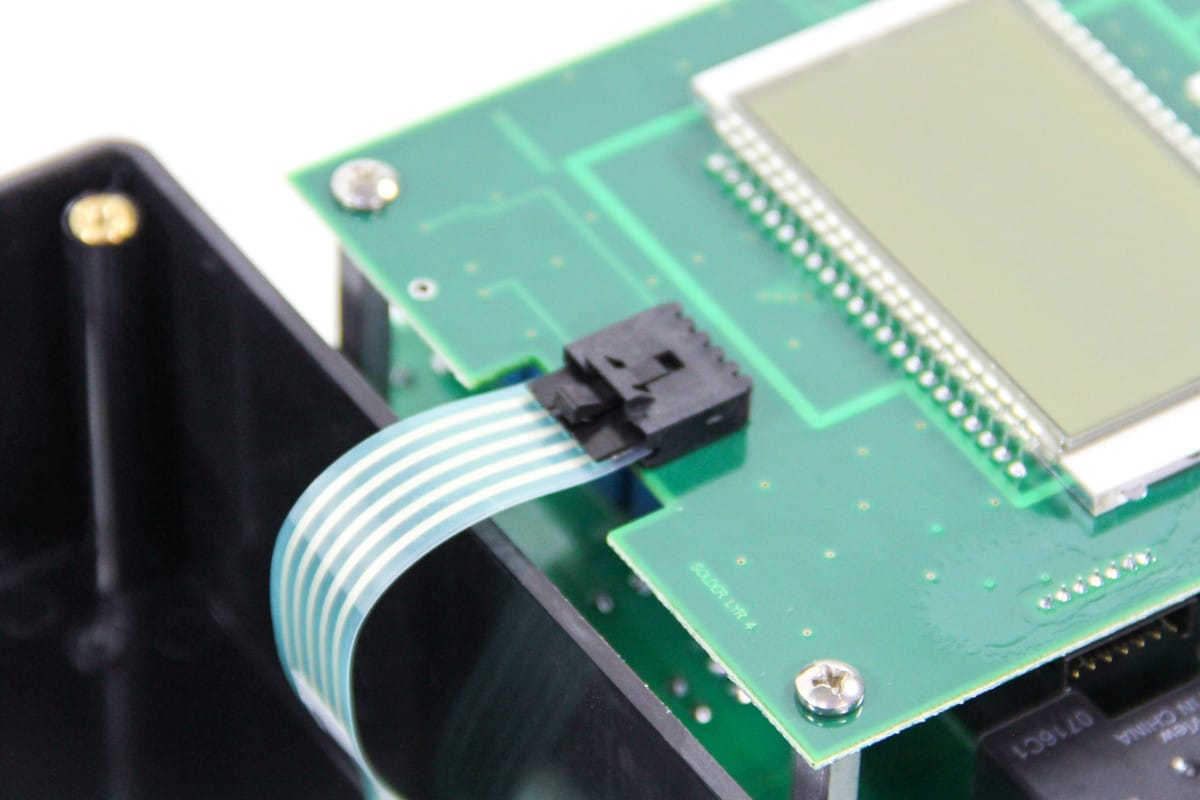
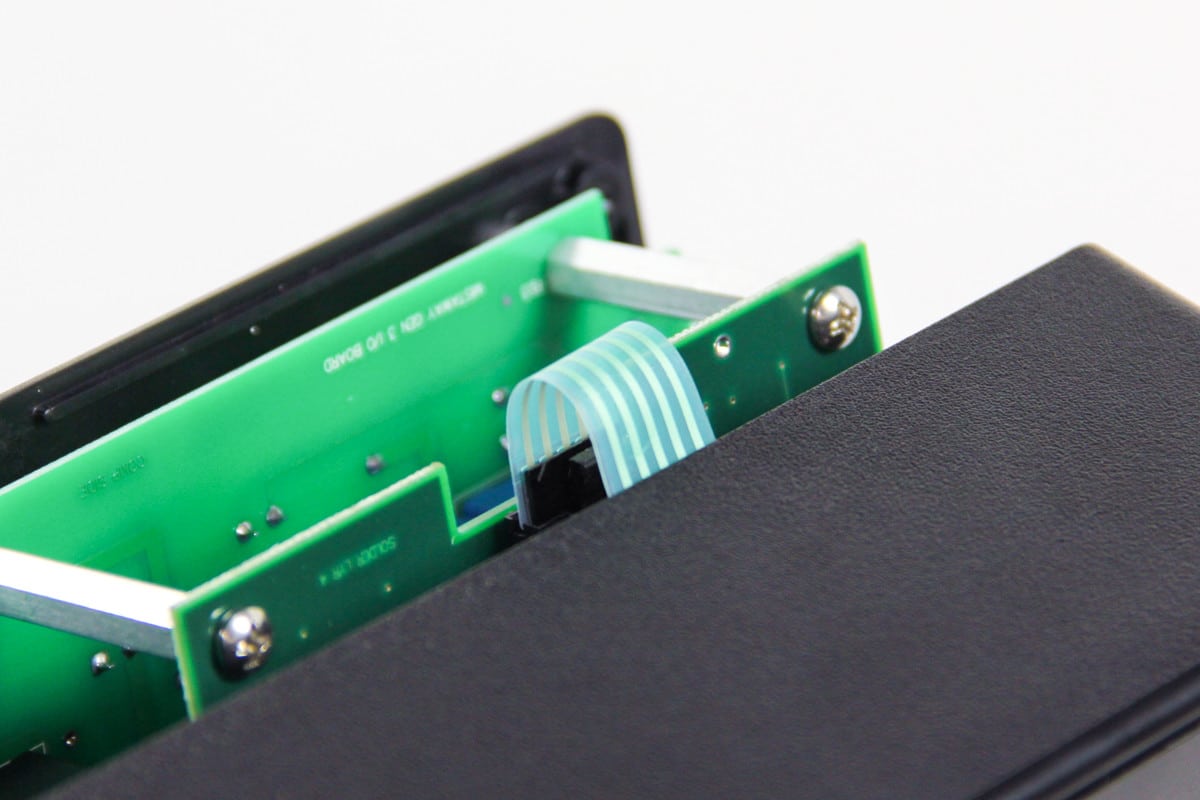
F. Disconnect the ribbon cable from the exposed board by pressing down on the clip and sliding the connector out. You may need to wiggle the connector slightly to remove it.
2. Replace with new faceplate.
A. Connect the ribbon cable from the new faceplate to its connector on the board. Verify that the locking tab on the connector is fully engaged.
B. Place the faceplate back onto the controller.
C. Avoid scoring the ribbon cable by ensuring that the rounded bend in the cable is pointed toward the case as shown, and not toward the display window.
D. Replace the screws securing the controller to the faceplate using a phillips screwdriver.
E. Reconnect the wiring harness, power and motor cables (color coded) to the controller.
F. Secure controller to Gen 3 shroud or Gen 1.3 cover with screws.